
Once again in my attempts to learn python, I got stuck on something so basic that nobody else would explain it. I even tried searching “GitHub for complete newbies”, and the resulting tutorials still glossed over it. Maybe I should be embarrassed at how long it took me to figure it out, but I’ll ignore that in the interest of saving someone else from my fruitless searching.
I’m working on a programming project that I might share on the blog when it’s finished, but for now, I wanted to be able to save a couple of different versions of the code because I couldn’t figure out which approach was best. Version control is exactly what GitHub is for, so I decided it was time to figure out how to use it.
I managed to download and install GitHub for Windows easily enough. The instructions on the GitHub site were clear enough. However, note the last line:

See how there’s no link to instructions on how to code or edit your repository? Apparently, it’s so obvious nobody could need an explanation… Well, it is simple, but it wasn’t obvious to me.
I went the circuitous path of creating a repository on the website and pasting in some code there, instead of going straight to GitHub for Windows, which was probably a mistake. I figured out how to get access to my repository with GHfW easily enough.
The confusing part to me was that GHfW shows you the code right there in its window, but you can’t edit it. It took me an embarrassingly long time to figure out that the code is saved in a file somewhere else that you have to open with your preferred text editor/python IDE to edit. You can use the instructions here to figure out where (and change it to your preferred directory).
Here are the more straightforward instructions for creating a repository for some code you’ve already written in python:
- Save your .py file in a dedicated folder (the name can’t have any special characters or spaces)
- Drag the folder to the GHfW home screen (or click on “+create” at the top and manually point it to your folder). Your repository will appear in the list of local repositories.
- Click on the arrow to the right of the repository name. You’ll see a screen with several files listed on the right.
- Fill in the “summary” box with something that describes the current state of your project (at least that’s what I did).
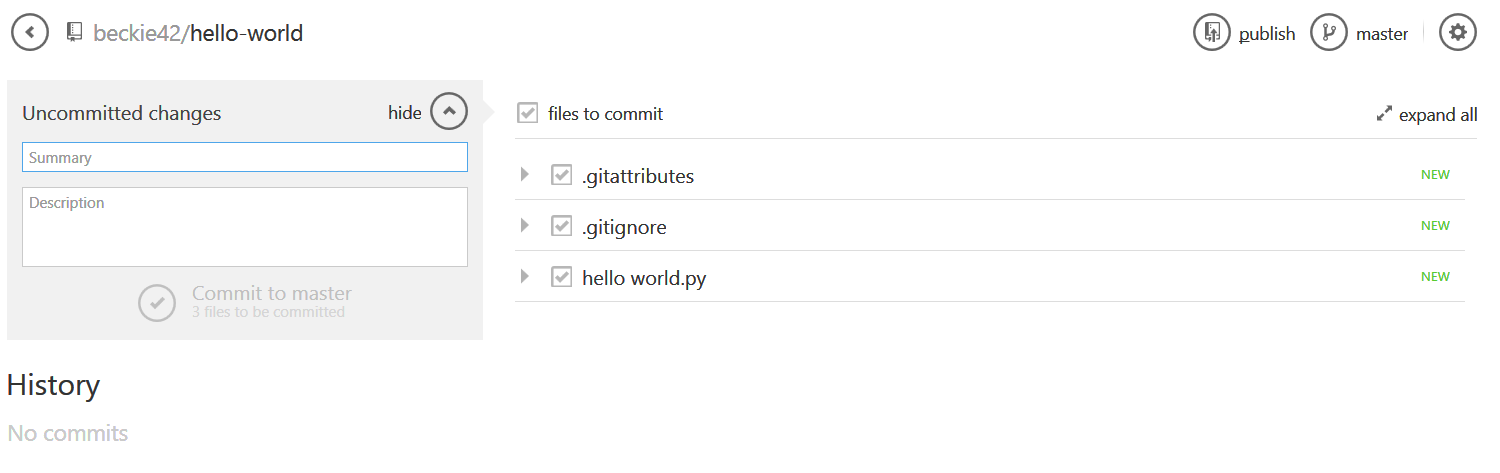
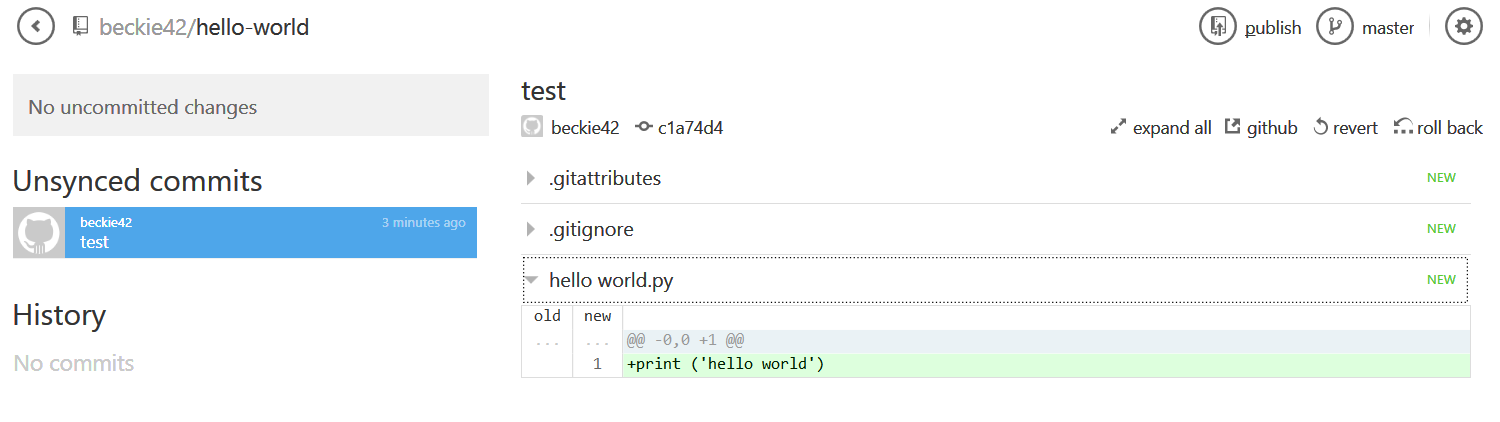
- Click “Commit”. Congratulations! You just created a repository! You can see your code by clicking on the arrow next to your .py file on the right.
- Now you can go back and edit your .py file with whatever you used to create it, and after you save any changes, GHfW will notice and show “uncommitted changes” on the left. Describe the new version and hit commit
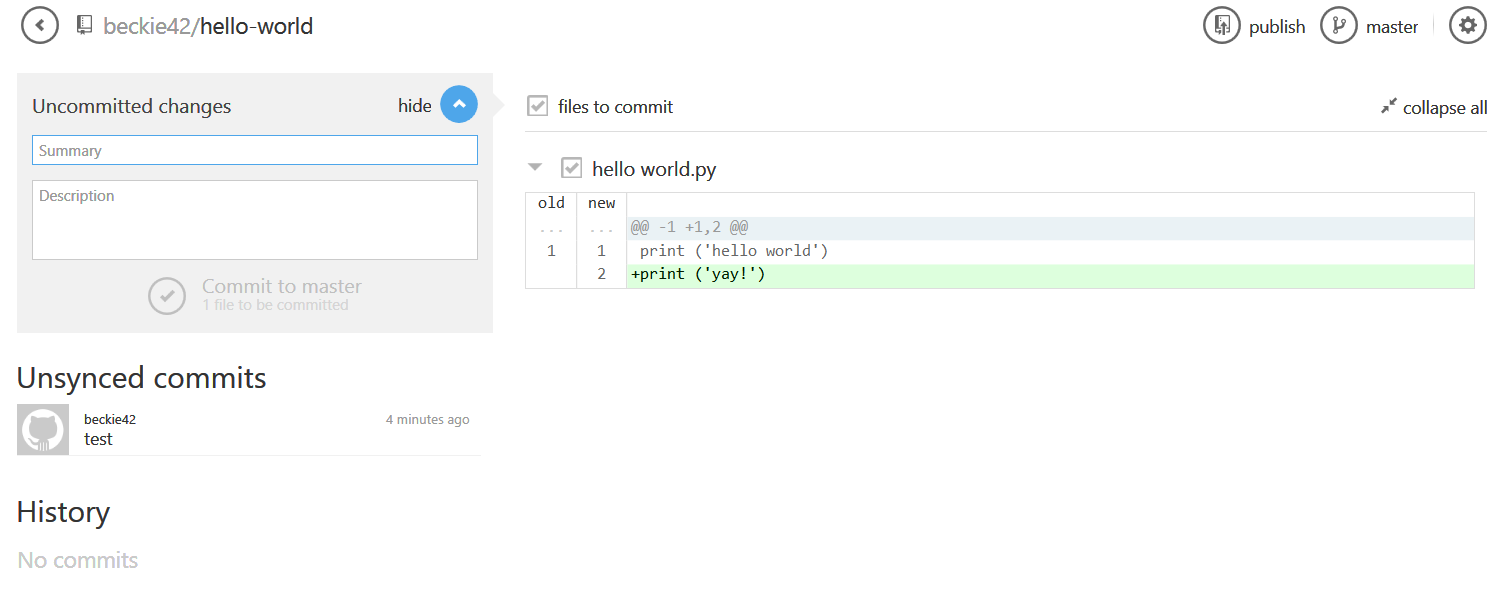
- You can hit publish (in the top right) to upload your files to the cloud, too.
I haven’t figured out much more than this, but at least now I have various different versions of my program safely stored.